WIKI UAT
OTJ offers two methods in order to update a ticket:
First method:
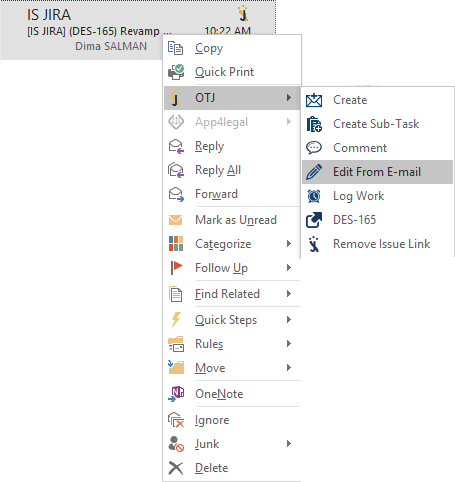
Select an e-mail
- Right click on the e-mail
- Go to JIRA
- Click on Update
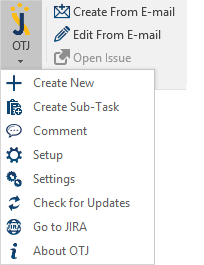
Second Method:
- Click on the “JIRA” icon displayed in the top right menu in Outlook
- Click on “Update”
Once “Update” is clicked:
- Issue search screen pops up

2. Select a Project
3. Search and select an existing issue
4. Edit all your desired fields

5. Click on “Update”
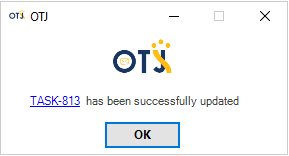
6. A window with a link to the updated ticket in JIRA will appear
Optional Features
Issue Search Screen:
Option to search by:
- Issue Key: Type in your JIRA ticket number
- Summary: Type in any text you have in the Summary section of an JIRA ticket
- Description: Type in any text you have in the Description section of an JIRA ticket
- JQL Query: Type in a JQL query to find your issue/ticket just like in JIRA. (Click on Advanced)
Under Comment:
- Add e-mail header: Adds your e-mail header information (From, To, CC, Subject, etc...)
- Add e-mail body: Adds the e-mail body
- Add e-mail timestamp: Adds the timestamp of your e-mail (E-mail received date, Time, etc...)
- Inline Images: Adds all inline images as attachments (signature logo's, etc...)
Under Attachments:
- E-mail attachments: Includes the e-mail attachments and allows you to select the attachments of your e-mail.
- Include e-mail as attachment: The e-mail itself will be attached in the corresponding JIRA ticket.
- Include Screenshot: Allows you to add a screenshot to your JIRA ticket by:
- Click 'PRTSCR' on the desired screen
- Check the 'Include Screenshot' checkbox
- A small picture of your screenshot will be shown
4. Drag & Drop any external attachments into your ticket.
This space is outdated. Please head to the new documentation here.