WIKI UAT
1. How to Login
1.1 Authentication
- Go to Home Tab.
- Click on OTJ Select
- Jira Login page will open
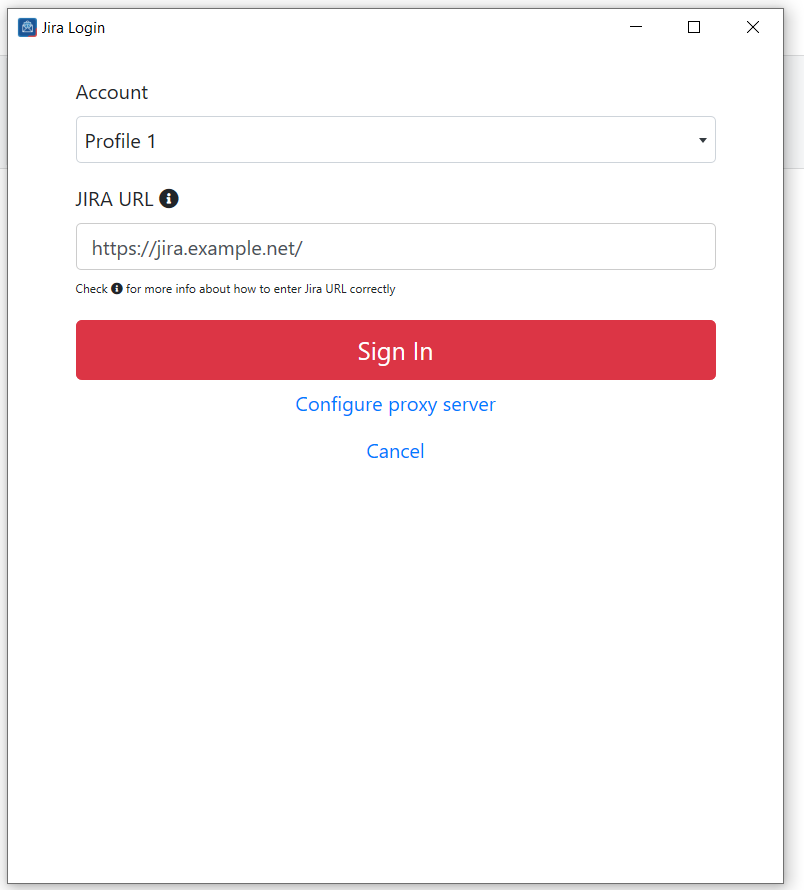
- Select a Profile, enter Jira server URL.
- Click Sign In.
- If user has created an application link. OAuth 1.0 Authentication Page open. (How to create application Link).
- If user hasn't created an application link, he/she must enter the username and password.
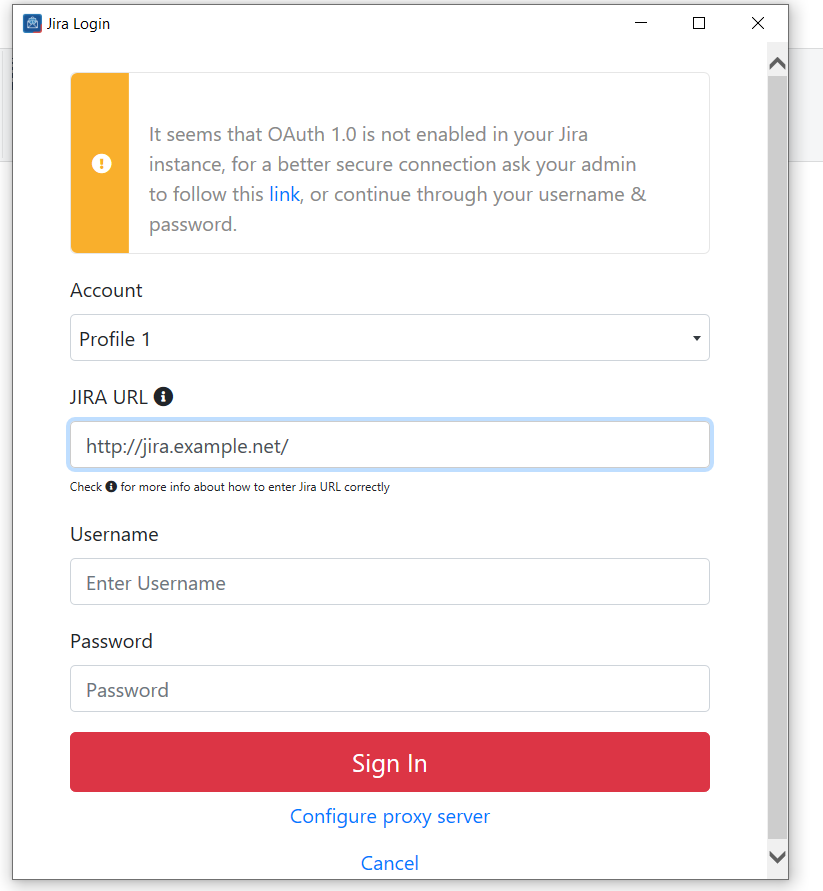
Note: Jira Cloud users must authenticate with OAuth 1.0. only.
1.2 Connect Outlook to Jira
- Go to the OTJ Jira for Outlook add-on
- Click on "Create Issue"
- Add your Jira website link
- Sign in with your email
- Click on "Generate an API Token"
- Click on "Create API Token"
- Add a short label
- Click on "Create"
- Ensure you copy and save the token
- Add it to the empty space
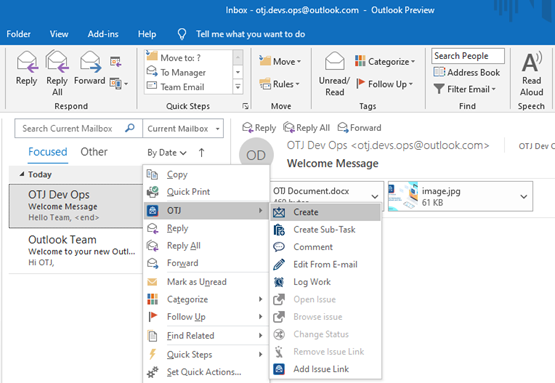
2.1 From Mailbox
- Right click on an email
- Select OTJ and click on Create
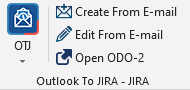
2.2 From Home tab
- Go to Home tab in outlook.
- On the right of the page, click on Create from E-mail.
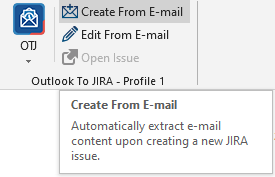
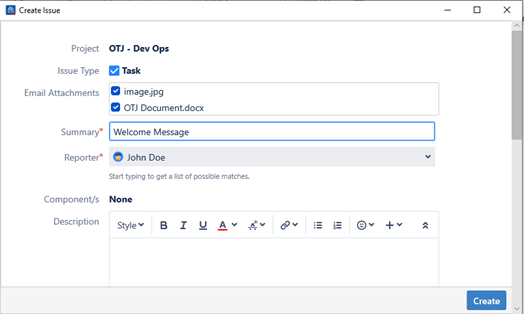
Note: Creating an issue from Email will automatically add email attachments, subject and content to the issue
2.3 From OTJ Icon
- Click on OTJ icon and select Create New.
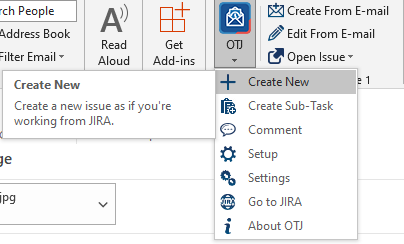
- Create Issue page will open.
- Select a Project, Issue Type and click
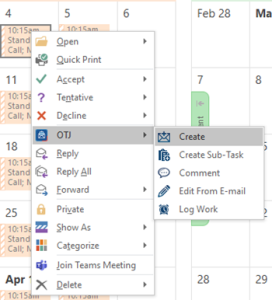
2.4 From Calendar
- Go to Calendar
- Right click on an appointment and click on OTJ
- Select Create
- Fill all the required fields and click
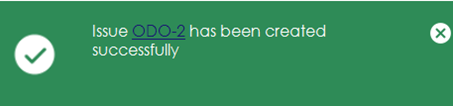
- A success Message will appear with link to the ticket created.
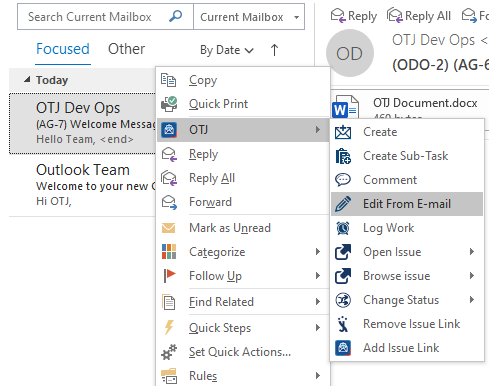
3.1 From Mailbox
- Right click on an email
- Go to OTJ, select Edit from E-mail
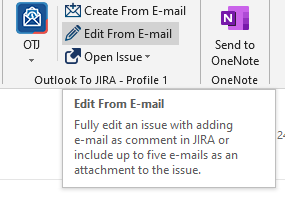
3.2 From Home Tab
- Go to Home Tab in outlook
- On the right of the page, click on Edit from E-mail.
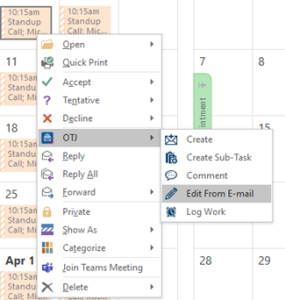
3.3 From Calendar
- Go to Calendar
- Right click on an appointment and click on OTJ
- Select Edit From E-mail.
- Issue Search page will open.

- Search for a ticket.
- Select the ticket you searched for and click Next
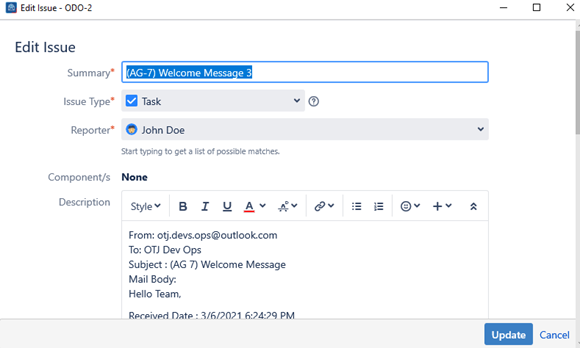
- Edit Issue page will open
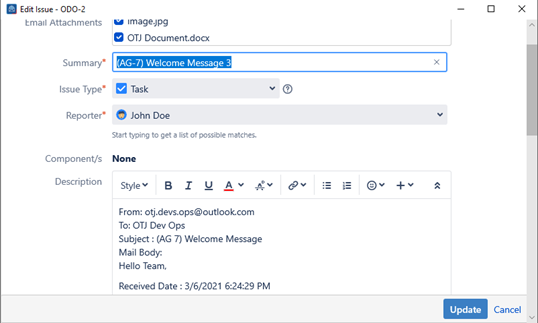
- Edit one or more fields and click update
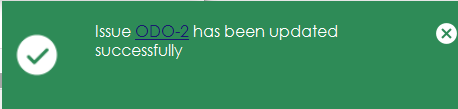
- A success message will appear with a link to the ticket updated
4. Three ways to add a comment
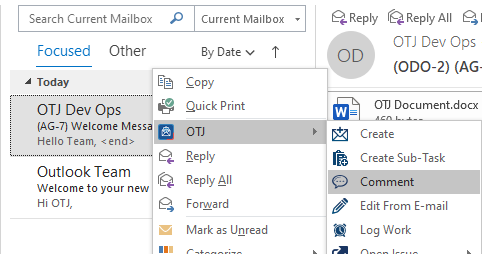
4.1 From Mailbox
- Right click on an email
- Go to OTJ and select Comment
4.1 From Home Tab
- Open Home Tab
- On the right of the page, Click on OTJ Icon
- Select Comment
4.3 From Calendar
- Go to Calendar
- Right click on an appointment and click on OTJ
- Select

- Issue Search Page will open
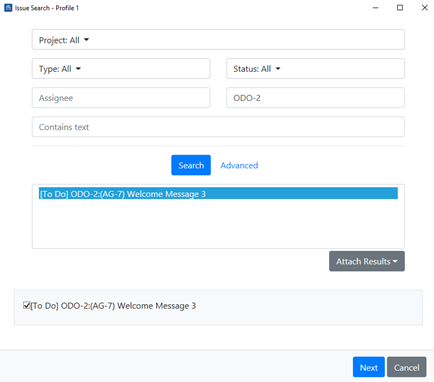
- Search for a ticket and click Next
- Add Comment page will open.
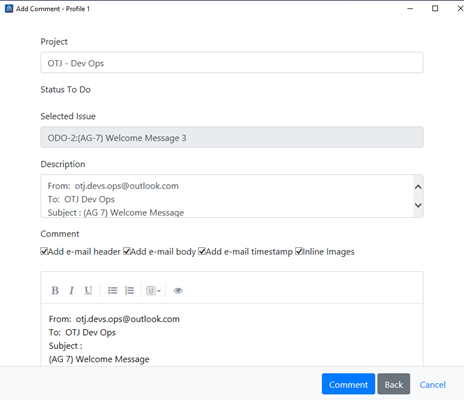
- Add a comment and click on Comment
- A success message popup will appear with a link to the ticket
5. Two ways to log a work
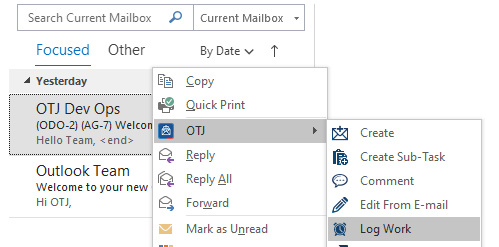
5.1 From Mailbox
- Open Mailbox
- Right click on an email
- Go to OTJ and click on Log work
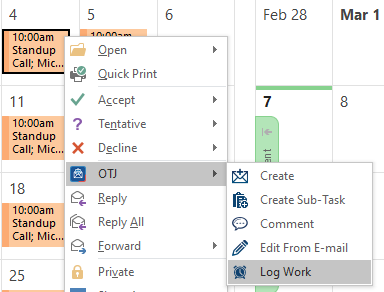
5.2 From Calendar
- Go to Calendar
- Right click on an Appointment
- Go to OTJ and Select Log Work
- Issue Search Page will open
- Search for an issue and click Next

- Log Work page will open
Add Log work time and click on Log Work button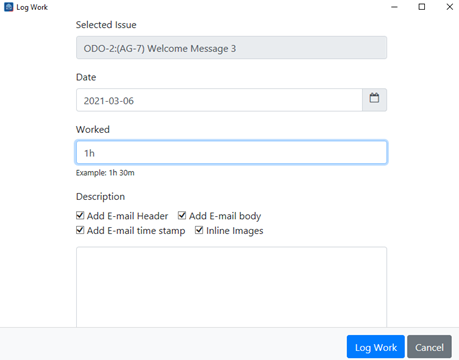
6. My Tasks
- Open Add-in tab in Outlook
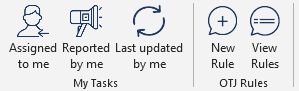
- In My Tasks Section, there are three actions
- Assigned to me: Will display all tickets that are assigned to the signed in user.
- Reported by me: Will display all tickets that are reported by the signed in user.
- Last updated by me: Will display all the updated tickets by the signed in user in descending order.
7. Three ways to create Sub-Tasks
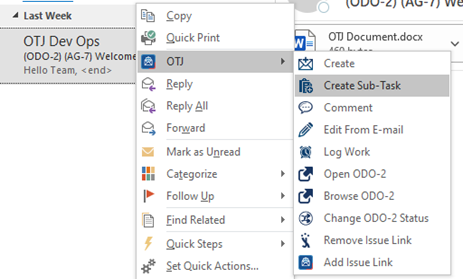
7.1 From Mailbox
- Open Mailbox
- Right click on an email
- Go to OTJ and Select Create Sub-Task.
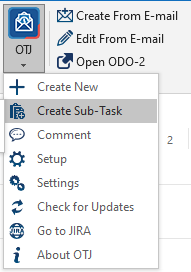
7.2 From Home Tab
- Go to Home Tab in outlook
- On the right of the page, click on OTJ Icon.
- Select Create Sub-Task.
7.3 From Calendar
- Go to Calendar
- Right click on an appointment and click on OTJ
- Select Create Sub-Task.

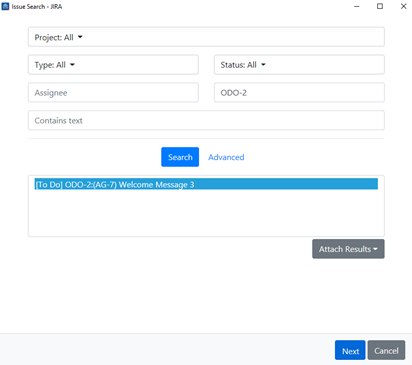
- Issue Search Page will open
- Search for an Issue and click Next.
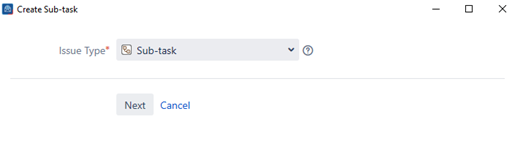
- Create Sub-task page will open.

- Sub-task will be selected automatically as an issue Type. Click Next
- Create Sub-task page will open again.
- Fill all required fields and click Create.
- A success message will appear with a link to the sub-task created.
8. Add / Remove Issue Link
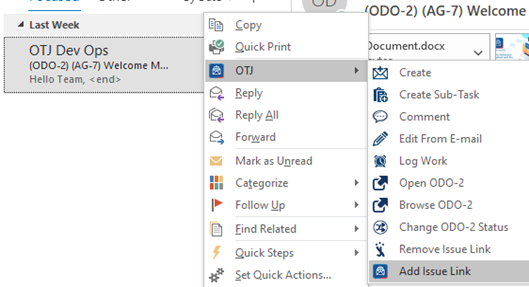
8.1 Add Issue Link
- Go to
- Right click on an email and Select
- Click on Add Issue Link.
- Issue Search page will open.
- Search for an issue and click Next
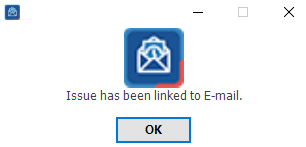
- A success message pop up will appear
- An OTJ Tag will be added next to the selected email
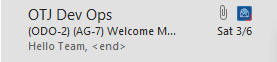
Note : “Enable e-mail markups “must be checked from the setting to user be able to add OTJ tag next to the email.
8.2 Remove Issue Link
- Go to Mailbox in Outlook.
- Right click on an email and click on
- Select Remove Issue Link.
- The OTJ Tag next to the email will disappear
9. Change Issue Status
- Go to Mailbox in Outlook
- Right click on an email and click on
- Select Change Status.
- Change Status page will open
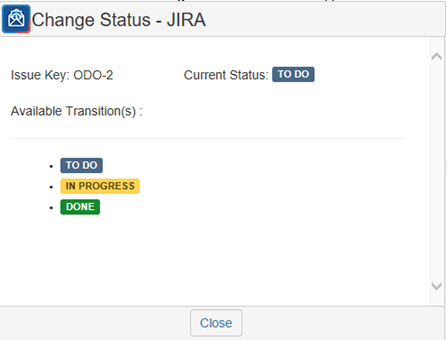
- Select one of the Available Transition.
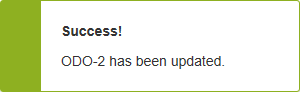
- A success message will appear
10. Browse Issue
To browse an issue in a browser, follow these steps:
- Go to Mailbox in Outlook
- Right click on an email and click on
- Select Browse
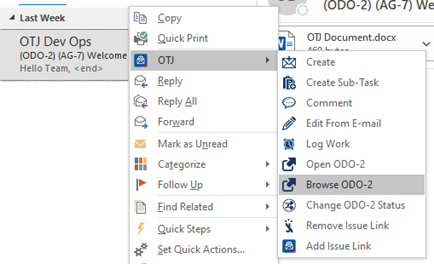
- The selected issue will open on a browser.
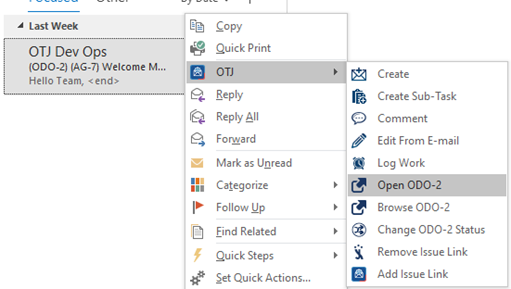
11. Two ways to Open Issue
11.1 From MailBox
- Go to Mailbox in Outlook
- Right click on an email and click on
- Select Open
11.2 From Home Tab
- Go to Home Tab in Outlook
- On the right of the page, and click on Open “Issue Name”.
- Edit Issue page will open
- After editing the issue click on Update button
- A success message will appear with a link to the ticket updated
12. Settings
- Go to Home Tab
- Click on OTJ Icon and Select
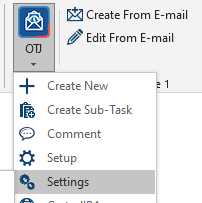
- Settings page will Open
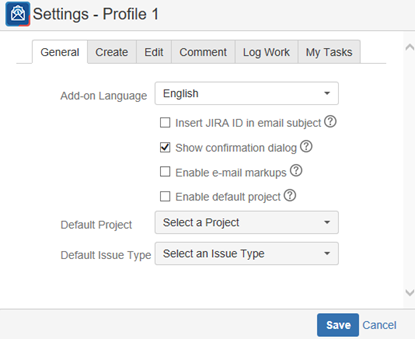
12.1 To add OTJ Tag next to an email when creating or editing a ticket
- Check Enable e-mail markups
12.2 To add Jira ID in email subject when creating, or commenting from email
- Check Insert JIRA ID in email subject